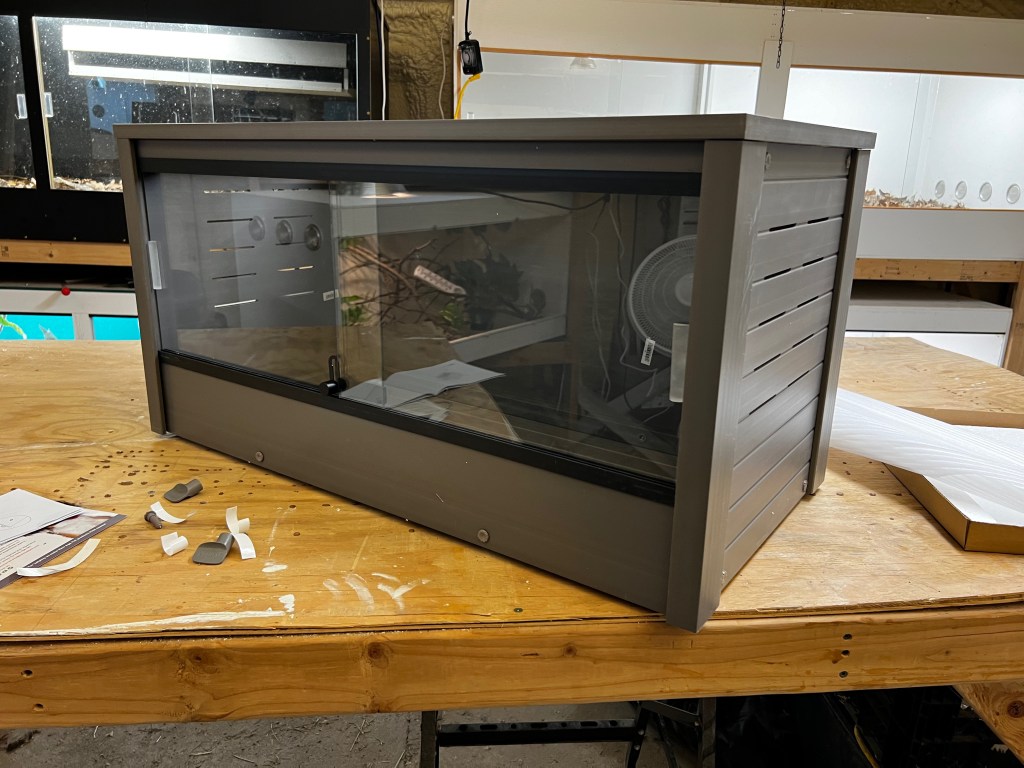
Over all this appears to be a good, sturdy cage – at a very low price. I am impressed with its build quality and a couple key features often lacking in commercial cages. 1. A tall substrate dam – perfect for 4 inches of Miracle-gro potting mix (see the articles further down about substrate, Miracle-gro, etc. Also read why we DONT want a.) clean-up crews, b. drainage layers, or c. thermostats in our cages – believe it or not)
2.) A screen top. And yes I know you hoarders want to stack your cages. This company (and its selling under other names too) makes a separator that allows stacking with the overhead lights. Screen tops are IMO the best option for most species. we often underestimate the need for good ventilation. And this cage design has slatted vents at each end in addition to the screen top. Very good.
The down side o the smaller versions of this cage – it comes in roughly 2 for, 3 foot and 4 foot widths, is that the screen top doesnt allow as much room as you might want for UV, infra-red and visible light. You could mount an LED strip or small shop type light inside along the front edge though, leaving the top screen for UV and warming near-infrared.
The overall design is a bit squishy with the tall substrate dam. I prefer the looks and functionality of the design I have tutorials for below. But I know many prefer to buy – and this cage is the best option for the cost that Ive seen.
When building here are some important things to keep in mind.
1.) Finger tighten the plastic screws initially. Put everything together loosely and then go back and snug the screws (bolts) up.
2.) Be careful with the plastic “wrench” that comes with the cage. It is convenient, but with just a little too much pressure you will strip the bolt head and the screw threads. And then you will be screwed. They do not have to be all that tights, so just snug them up.
3.) Think before attaching the front lock a the plastic finger pulls. I placed mine too close to the edges of the glass and they disappeared behind the lip on on end, and butted into the lip on the other. So look and think before you adhere them to the glass.
4.) Consider using silicone to seal the seams along the back and around the bottom. I would leave the top alone so it’s easy to remove. This step is not necessary if you are not doing bioactive, and may not even be necessary for many drier bioactive – read the article below on substrate moisture. Too much moisture is probably the single biggest problem with bioactive enclosures!
5.) The screen is quiet heavy – which is good because it is sturdy, but will block UV. So check with the FB Reptile Lighting group to see if they have the % UV blockage for this cage and calculate accordingly.
Finally – Id be happy to hear your feedback on this cage. Visit the FB Group:
https://www.facebook.com/groups/naturallykeeping
If you would rather build your own, here is my simple, but high quality build you may like:
https://www.youtube.com/watch?v=bxJ0FGn-OMU&t=66s

Leave a comment